Disclosure: Sportshubnet is supported by its audience. When you purchase through links on our site, we may earn an affiliate commission. Learn More.
In this post, we will check out how to convert iPhone photos to JPG.
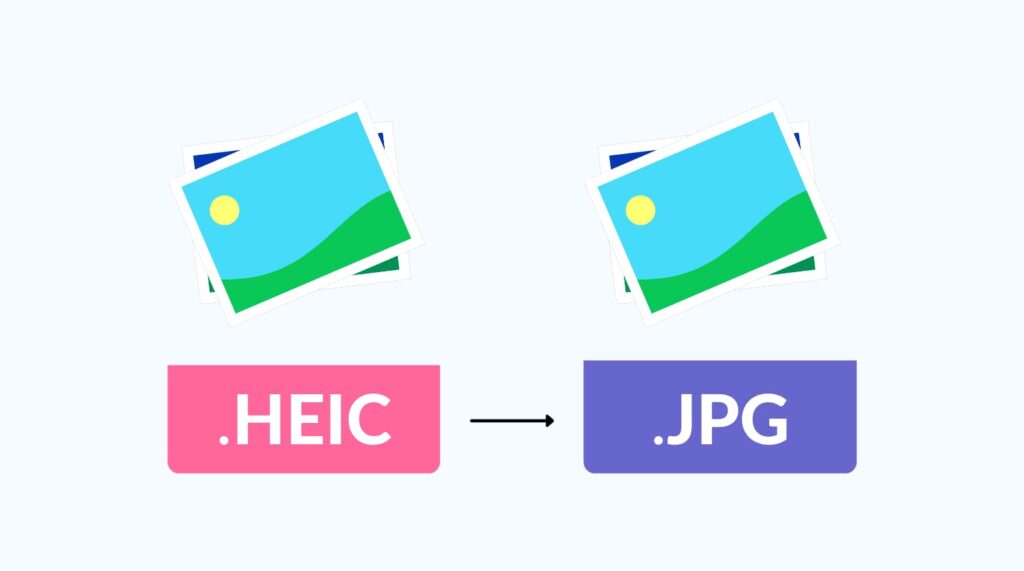
Converting iPhone photos to the widely compatible JPEG (JPG) format can be essential in certain situations.
While iPhones capture images in the HEIC (High-Efficiency Image Format) format by default, converting them to JPG allows for easier sharing, editing, and compatibility across various platforms.
JPG is a widely recognized image format supported by virtually all devices, operating systems, and image editing software.
Fortunately, there are several methods available to convert your iPhone photos to JPG, ranging from built-in iOS features to third-party apps and online tools.
In this guide, we will explore different approaches to help you seamlessly convert your iPhone photos to the JPG format, ensuring flexibility and convenience with your image files.
Whether you’re an avid photographer, a social media enthusiast, or simply someone who wants to share their pictures effortlessly, this guide will provide you with the necessary information to make the conversion process a breeze.
So now without further delay, let’s go ahead and check out the article for converting iPhone Photos to JPG.
Table of contents
Converting Images from iPhone to JPG
Method 1: Using the Photos App on your iPhone:
- Open the “Photos” app on your iPhone.
- Browse and select the photo you wish to convert to JPG.
- Tap on the “Share” button located at the bottom left corner of the screen.
- Scroll through the bottom row of icons and tap on “Save to Files.”
- Choose the desired location to save the photo (iCloud Drive or On My iPhone).
- Tap on “Save” to export the photo as a . HEIC file.
- Exit the Photos app and open the “Files” app on your iPhone.
- Locate the saved.HEIC file and tap on it to open it.
- Once the photo is displayed, tap on the “Share” button.
- Scroll through the bottom row of icons and select “Save Image” or “Save to Files.”
- Choose the destination folder and select “JPEG” as the file format.
- Tap on “Save” to convert and save the photo as a JPG file.
Method 2: Using Cloud Storage Services:

- Install a cloud storage app like Google Drive, Dropbox, or OneDrive on your iPhone.
- Open the cloud storage app and create an account (if required).
- Navigate to the location where you want to save the photos.
- Tap on the “+” or “Upload” button within the app.
- Select the desired iPhone photos you wish to convert to JPG.
- Wait for the upload process to complete.
- Once the photos are uploaded, open the cloud storage service on your computer.
- Sign in using the same account as the one used on your iPhone.
- Locate and select the uploaded photos.
- Depending on the cloud storage service, you may have the option to download the photos directly as JPG files or convert them to JPG using an integrated conversion feature. Follow the service’s instructions accordingly.
- Save the converted JPG files to your computer.
Method 3: Using Third-Party Conversion Apps:
- Open the App Store on your iPhone.
- Search for “HEIC to JPG” or “Photo Converter” apps.
- Install a reputable and highly-rated app of your choice.
- Launch the app and grant the necessary permissions.
- Follow the app’s on-screen instructions to select and convert your iPhone photos to JPG.
- Save the converted JPG files to your iPhone’s Camera Roll or Files app.
- Connect your iPhone to your computer using a USB cable.
- Open a file explorer window on your computer and navigate to your iPhone.
- Locate the converted JPG files on your iPhone.
- Select and copy the JPG files from your iPhone to your computer for easy access and further sharing.
Conclusion
Changing iPhone Photos to JPG Format is essential for seamless sharing and accessibility across different devices and platforms.
This comprehensive guide has outlined three different methods: using the Photos app on your iPhone, utilizing cloud storage services, and employing third-party conversion apps. By following these steps, you can convert your iPhone photos to JPG effortlessly

Inbox looking a bit bland?
Better sign up to our blog to cram it full of trending Sports, Gaming & Tech updates.


